There’s a specific kind of satisfaction that comes from sliding under your own car, draining out oil that’s done its job, and topping off something clean and fresh. It’s one of the few car maintenance tasks that’s genuinely within reach for a beginner, and it can save you real money over the course of a year. Yet a lot of people still avoid it, either because it sounds messier than it is, or because they’re not sure they’ll do it right.
Here’s the truth: changing your own oil is one of the most approachable DIY car jobs out there. You don’t need a garage full of specialty tools, and you don’t need years of mechanical experience. You need about 30 to 45 minutes, a few basic supplies, and a willingness to get your hands a little dirty. This guide walks through exactly how to do it in 2026, what’s changed about oil change intervals in recent years, and when it actually makes sense to do this yourself versus paying someone else.
Why Oil Changes Still Matter in 2026
Modern engines run hotter, tighter, and harder than the engines of even a decade ago. Motor oil is what keeps metal parts from grinding against each other, carries away heat, and traps the grit and combustion byproducts that build up as your engine runs. Skip oil changes long enough, and you’re not just risking a check-engine light, you’re risking thousands of dollars in engine damage.
The good news is that modern synthetic oils have made this job less frequent than it used to be. The old advice to change your oil every 3,000 miles is largely outdated for newer vehicles. Most cars running full synthetic oil today can comfortably go anywhere from 7,500 to 10,000 miles between changes, with some manufacturers rating their oils for up to 15,000 miles under ideal conditions.
How Often You Actually Need to Change It
Your owner’s manual is the real authority here, since manufacturers test their specific engines extensively before publishing a number. That said, a few general patterns hold up across most vehicles:
- Conventional oil: every 3,000 to 5,000 miles
- Synthetic blend: roughly every 6,000 to 8,000 miles
- Full synthetic: typically 7,500 to 10,000 miles, sometimes higher
- Time-based rule: change at least once a year regardless of mileage, since heat cycles and condensation degrade oil even if you barely drive
If you do a lot of towing, short trips in stop-and-go traffic, or drive in extreme heat or dust, you likely fall into what manufacturers call “severe service,” which calls for shorter intervals than the standard recommendation.
What You’ll Need Before You Start
Gathering everything ahead of time makes the whole job faster and a lot less frustrating. Here’s the basic list:
- The correct amount and type of oil for your engine (check your owner’s manual for the exact viscosity, like 0W-20 or 5W-30)
- A new oil filter that matches your vehicle
- An oil filter wrench
- A socket wrench or oil drain plug wrench
- A drain pan large enough to catch 4 to 6 quarts of used oil
- A funnel
- Jack stands or ramps, plus a jack
- Gloves and a rag or two
- A container to transport the used oil to a recycling drop-off point
How to Change Your Oil, Step by Step
Step 1: Warm Up the Engine Briefly
Run your engine for about five minutes before starting. Warm oil flows out faster and carries more sediment with it than cold, thick oil sitting at the bottom of the pan.
Step 2: Raise and Secure the Vehicle
Drive the front wheels up onto ramps, or lift the car with a jack and immediately support it with jack stands. Never rely on a jack alone while you’re underneath the vehicle. This single step is where most home mechanics get hurt, so don’t rush it.
Step 3: Locate and Remove the Drain Plug
Slide your drain pan under the oil pan, then use your wrench to loosen the drain plug. Once it’s loose, finish removing it by hand and pull away quickly, since the oil will come out faster than you expect.
Step 4: Let It Fully Drain
Give it several minutes. Rushing this step means leaving old, dirty oil behind that mixes with your fresh fill.
Step 5: Replace the Drain Plug and Filter
Reinstall the drain plug, hand-tightening it and then giving it a quarter turn with a wrench, not more. Then move to the oil filter, usually located near the bottom of the engine. Use your filter wrench to remove the old one, and before installing the new filter, wipe a thin layer of fresh oil on the new gasket to help it seal properly.
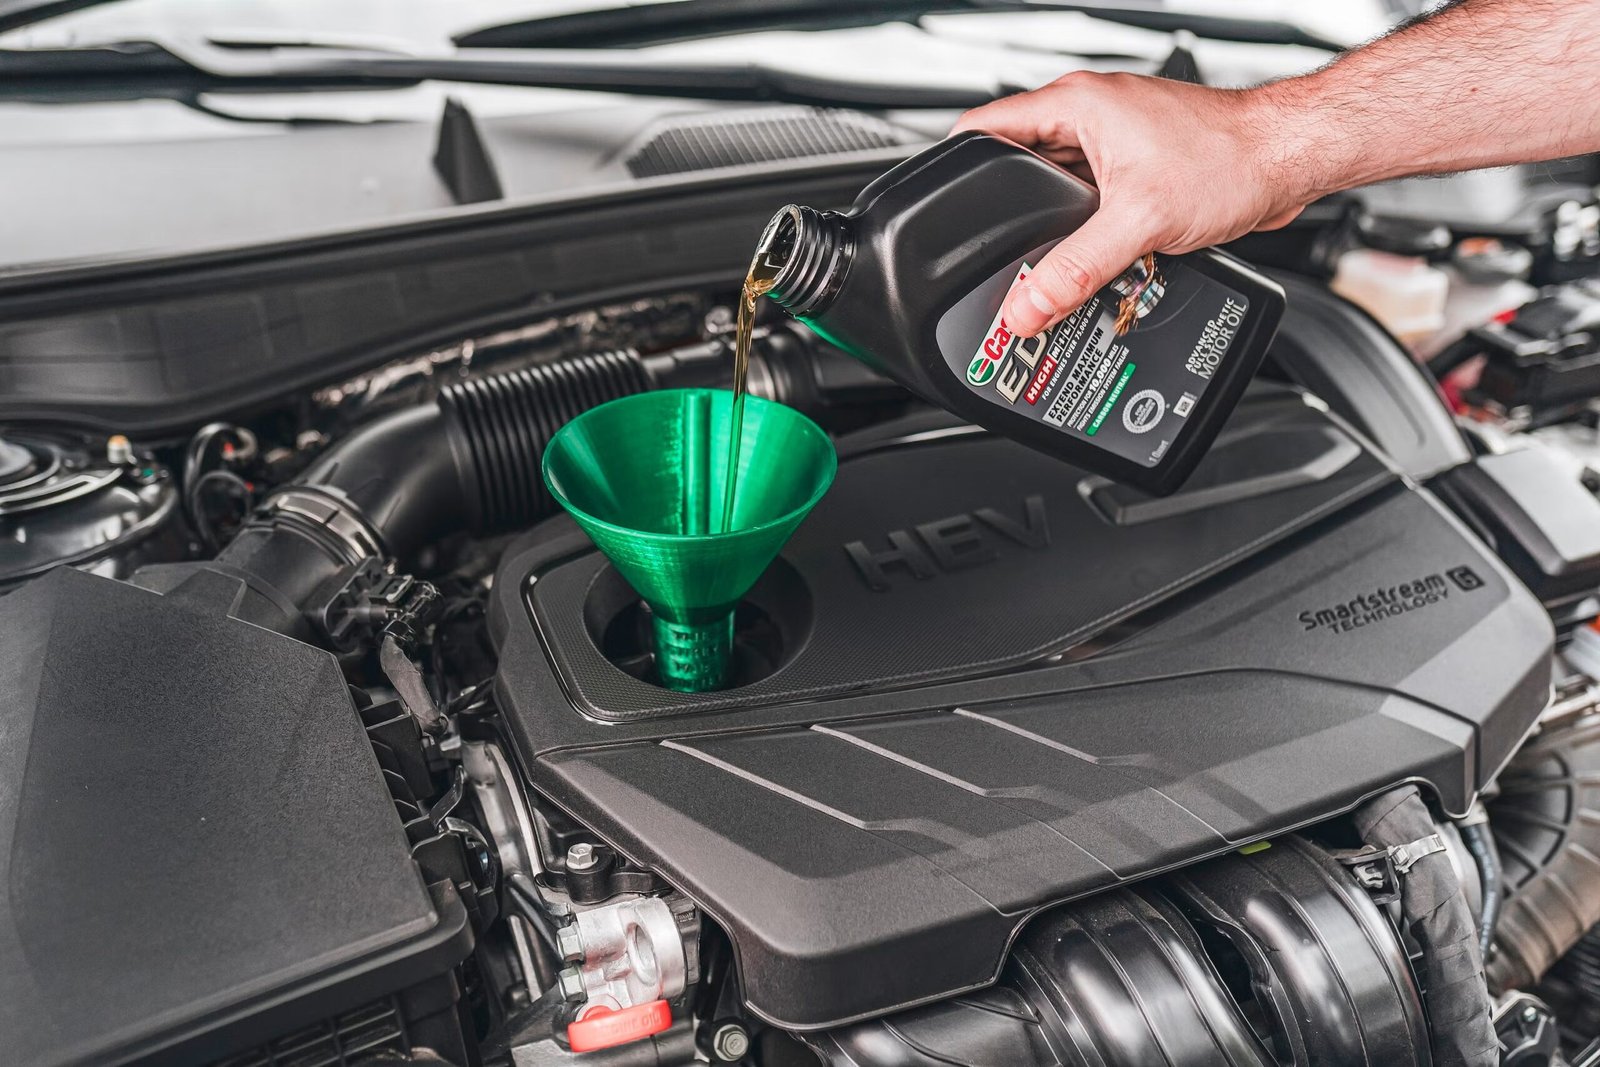
Step 6: Add Fresh Oil
Open the oil cap on top of the engine, place your funnel, and pour in the amount specified in your manual, usually 4 to 6 quarts depending on engine size. Add a little less than the full amount first.
Step 7: Check the Level and Top Off
Start the engine for about a minute, then shut it off and let it sit for a few minutes. Check the level with the dipstick, and add small amounts of additional oil until it sits between the marked lines.
Step 8: Dispose of the Old Oil Properly
Pour the used oil into a sealable container and take it to an auto parts store or recycling center. Most major retailers accept used motor oil for free.
DIY vs. Professional Oil Change: Which Makes More Sense?
| Factor | DIY Oil Change | Professional Service |
|---|---|---|
| Cost | $25–$45 in supplies | $40–$90 depending on oil type |
| Time | 30–45 minutes | 15–30 minutes, but includes a wait |
| Convenience | Requires tools and space | Drop off and walk away |
| Learning curve | Moderate, gets easier each time | None required |
| Disposal | You handle it yourself | Shop handles it for you |
Real-world example: a driver who changes their own oil twice a year on a vehicle that takes full synthetic can realistically save $80 to $150 annually compared to shop pricing, especially if they already own basic tools. On the other hand, someone without a garage, a flat driveway, or the patience for occasional spills may find the time savings of a quick-lube shop worth the extra cost.
Pros and Cons of Changing Your Own Oil
Pros:
- Noticeably cheaper over time, especially with synthetic oil
- You control exactly which oil and filter brand goes into your engine
- Builds basic mechanical confidence for other small repairs
- No waiting around at a shop
Cons:
- Requires upfront tool investment if you’re starting from scratch
- Some vehicles have difficult-to-access drain plugs or filters
- Used oil disposal requires an extra errand
- A rushed or careless job can lead to leaks or stripped components
Frequently Asked Questions
Can I change my oil without a lift or ramps? It’s not recommended. You need enough clearance to safely access the drain plug and filter, and jack stands or ramps are the safest way to get that clearance.
What happens if I wait too long between oil changes? Old oil breaks down and loses its ability to lubricate and cool engine components, which can lead to increased wear, sludge buildup, and in severe cases, serious engine damage.
Is synthetic oil really worth the extra cost? For most modern engines, yes. Synthetic oil resists breakdown better, performs more consistently in extreme temperatures, and allows for longer intervals between changes, which often offsets its higher upfront price.
How do I know what type and amount of oil my car needs? Your owner’s manual lists the exact viscosity grade and quantity required. This information is also usually available from the manufacturer’s website if you’ve misplaced the manual.
What should I do with the old oil filter? Let it drain into your pan for a few minutes, then most auto parts stores that accept used oil will also take old filters for recycling.
Final Thoughts
Changing your own oil isn’t about proving you’re a mechanic. It’s about understanding one small, recurring piece of your car’s upkeep well enough to control the cost, the quality, and the timing yourself. The first time will probably take you closer to an hour as you get familiar with where everything is. By your second or third oil change, you’ll likely have it down to thirty minutes, and you’ll have saved yourself a trip to the shop and a chunk of your maintenance budget in the process. Whether you stick with DIY long-term or eventually hand it back to a professional, knowing how the process works makes you a more informed car owner either way.